views
Why Convert an Image to an Embroidery File?
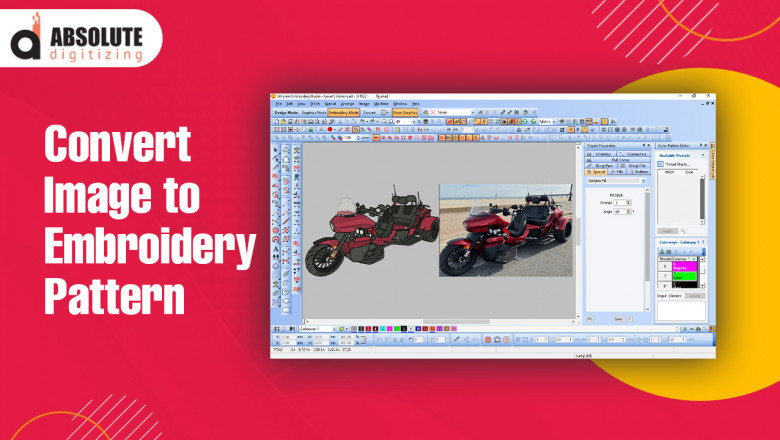
Embroidery digitizing is the process of converting a digital image (like a logo or artwork) into a stitch file that an embroidery machine can read. Here’s why it’s important:
-
Professional Branding – Businesses can create branded apparel with high-quality embroidered logos.
-
Customization – Individuals can personalize gifts, uniforms, or fashion items.
-
Durability – Embroidered designs last longer than printed ones.
-
Versatility – Works on various fabrics, including hats, bags, jackets, and more.
However, not all images are embroidery-ready. A standard JPEG or PNG must be digitized into a format like DST, PES, EXP, or JEF for embroidery machines.
How to Digitize a Logo Online
If you want to convert image to embroidery file, you have two main options:
-
Use Online Auto-Digitizing Tools
-
Hire Professional Digitizing Services
Let’s explore both methods.
1. Auto-Digitizing Tools to Convert Image to Embroidery File
Several online platforms allow you to upload an image and automatically generate an embroidery file. These tools use AI to detect shapes and colors, creating a basic stitch file.
Best Online Tools to Digitize Logo Online:
-
Embird Online – A simple tool for basic digitizing needs.
-
SewArt – Converts raster images to embroidery designs.
-
Stitch Era Free – Offers auto-digitizing with limited features.
-
Hatch Embroidery – A premium tool with advanced digitizing options.
Steps to Auto-Digitize a Logo:
-
Upload Your Image – Choose a high-resolution logo (PNG or JPEG works best).
-
Adjust Settings – Select stitch type (satin, fill, or running stitch).
-
Preview & Edit – Some tools allow minor adjustments before finalizing.
-
Download the File – Save in your preferred embroidery format (PES, DST, etc.).
Pros:
✔ Fast and affordable
✔ Good for simple designs
Cons:
✖ Limited customization
✖ May not work well for complex logos
2. Professional Digitizing Services for High-Quality Results
If your logo has intricate details, gradients, or small text, auto-digitizing may not produce the best results. In such cases, hiring a professional digitizing service ensures:
-
Perfect Stitch Placement – Experts manually adjust stitch types and directions.
-
Optimized for Fabric – Different materials (like cotton vs. polyester) require different settings.
-
Clean Edges & Minimal Thread Breaks – Professionals reduce jumps and trims for smoother embroidery.
Top Professional Digitizing Services:
-
DigitEMB – Offers quick turnaround and high-quality files.
-
Embroidees – Specializes in logo digitizing for businesses.
-
Wilcom – Industry-leading software with professional services.
How It Works:
-
Submit Your Logo – Upload your image via the service’s website.
-
Choose Specifications – Select stitch density, size, and fabric type.
-
Receive & Test the File – Get the embroidery file in 24-48 hours.
Pros:
✔ High-quality, machine-ready files
✔ Custom adjustments for complex designs
Cons:
✖ More expensive than auto-digitizing
✖ Takes longer than automated tools
Key Factors When Converting Image to Embroidery File
Whether you use an online tool or a professional service, consider these factors:
1. Image Quality Matters
-
Use high-resolution logos (300 DPI or higher).
-
Simple vector designs (SVG, AI) work best.
2. Choose the Right Stitch Type
-
Satin Stitch – Best for text and borders.
-
Fill Stitch – Ideal for large, solid areas.
-
Running Stitch – Used for fine details and outlines.
3. Size & Fabric Considerations
-
Small logos may lose detail if digitized improperly.
-
Stitch density should match the fabric (thicker fabrics need looser stitches).
4. Color Limitations
-
Embroidery machines use thread colors, so gradients may need simplification.
-
Limit the number of colors for cost-effective stitching.
Common Mistakes to Avoid When Digitizing a Logo Online
-
Using Low-Resolution Images – Results in blurry or pixelated embroidery.
-
Ignoring Fabric Type – A design for cotton may not work well on fleece.
-
Overcomplicating Small Details – Tiny text or complex patterns may not stitch clearly.
-
Skipping Test Stitches – Always test the file on scrap fabric before final production.
Conclusion: Best Way to Digitize Logo Online
If you need to convert an image to an embroidery file, you now have two great options: auto-digitizing tools for simple designs or professional services for high-quality results.
-
For quick, low-cost digitizing, try online tools like SewArt or Hatch Embroidery.
-
For logos with fine details, invest in a professional digitizing service.
By following these steps, you can ensure your embroidered designs look crisp, professional, and long-lasting. Start digitizing your logo online today and bring your creative visions to life with custom embroidery!


Comments
0 comment